In this article, we have given simple steps to reverse audio on Instagram. You can follow these steps and reverse the audio pretty easily.
How to Reverse Audio on Instagram? Step-By-Step
Step 1: Find the Video
To reverse the audio on Instagram, you need to open the Instagram application and search for the reel or video that you want to reverse.
Step 2: Download the Video/Reel
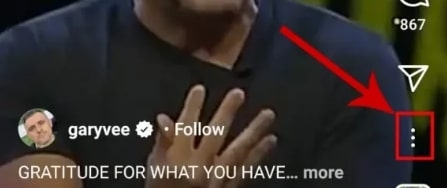
Once you find the relevant video or reel you would like to reverse the audio, click on the three dots present at the bottom of the video.
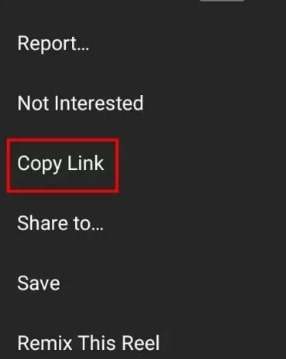
Now, click on the option ‘Copy Link’.
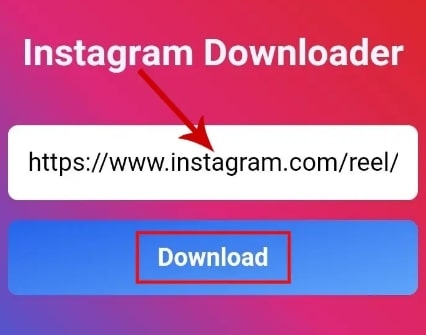
Now, open the Instagram reels downloader on your mobile phone (you can download any of the Instagram downloader applications from the App Store).Paste the reel or video link that you have copied from Instagram and hit on the ‘Download’ button.
Now, wait for the video to download on your phone’s local storage.
Step 3: Reverse the Audio
This is the final step to reverse the audio on Instagram. Follow it step-by-step:
Upload the video or reel on Instagram and select the ‘Reverse Filter’.This will easily reverse the audio on any file.
Alternative Apps to Reverse Audio on Instagram
If you do not want to use the default ‘reverse filter’ option of Instagram, you can use any of the below-mentioned third-party apps to reverse the audio.
Alternative 1: Reverse Audio on Instagram with InShot
Follow the steps given below to reverse the audio with the InShot app:
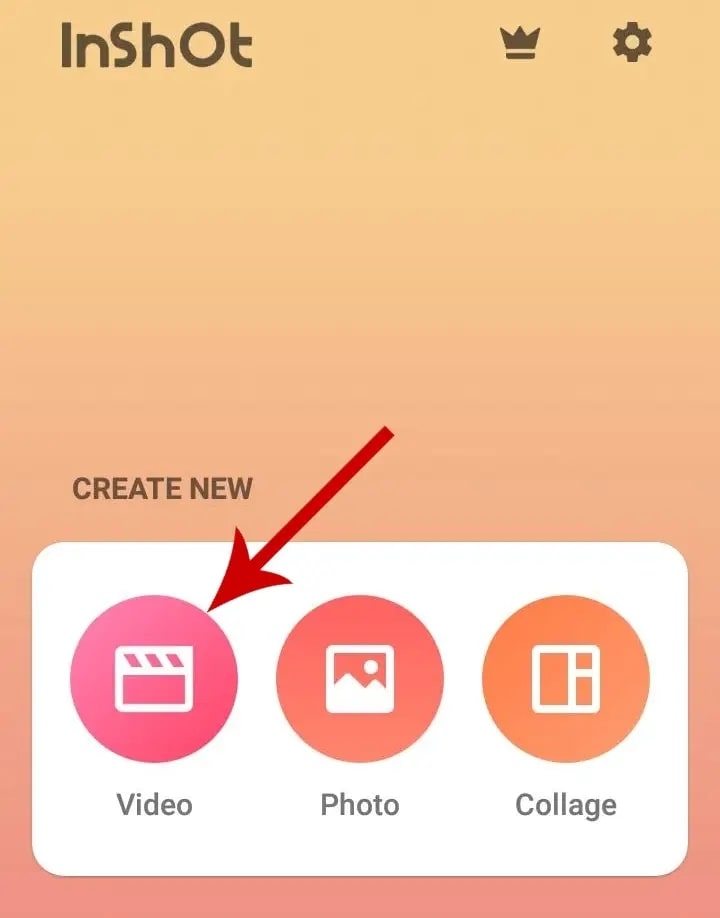
Firstly, click on the InShot app and select the ‘Video’ option.
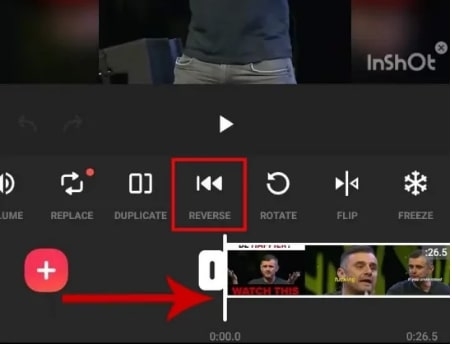
Now, choose the video or reels that you want to reverse the audio.Now, tap on the video timeline at the bottom of the InShot app.In the menu panel, you can find the ‘reverse’ option.
Wait for the video processing to complete, and now play the video.If everything seems fine, click on the save option present in the top-right corner of the InShot application.
Alternative 2: Reverse the Audio With EZGif
If you want to reverse the audio on a PC, then visit EZGif.comNow, select the video or reel that you have downloaded from Instagram.
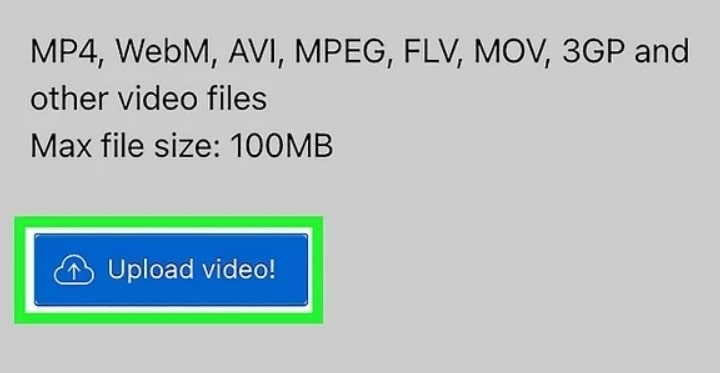
Tap on the ‘Upload Video’ option and wait for the video to upload from your PC.
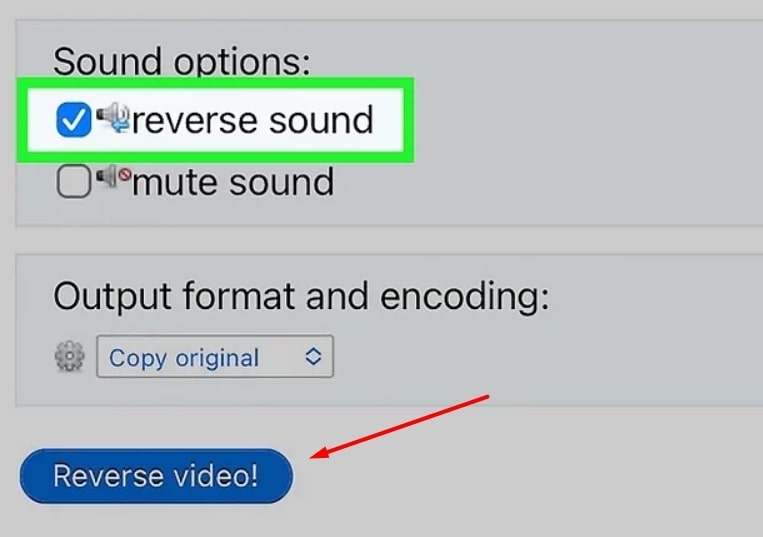
Once the upload is completed, click on the option ‘reverse sound’ and then click on the ‘reverse video’ option.
Once the video is processed, click on the ‘save’ option present on the website.
Alternative 3: Reverse the Audio With PowerDirector
Firstly, download the PowerDirector app from the PlayStore or Apple Store. However, the free version comes with a watermark. If you want without a watermark, it is recommended to buy a pro version.
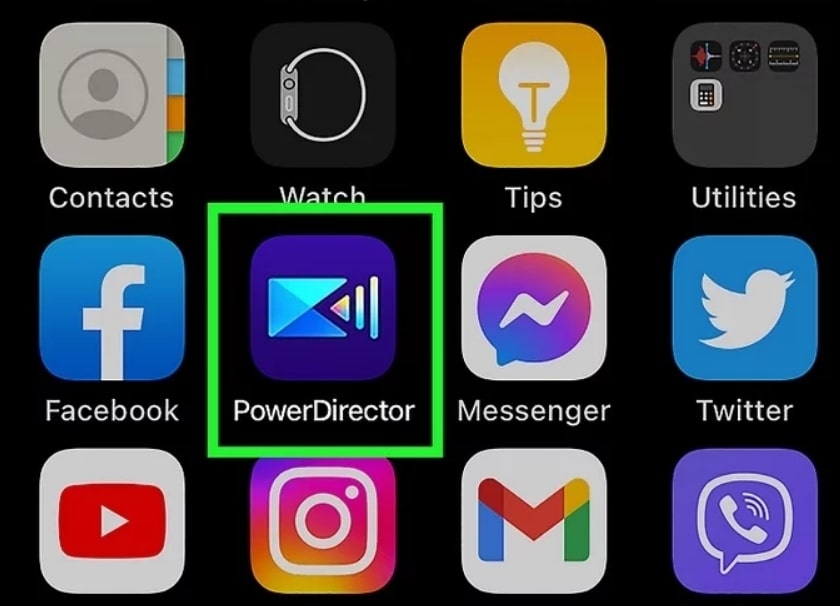
Now, open the PowerDirector application and click on the ‘New Project’ option, and agree to all the terms and conditions.
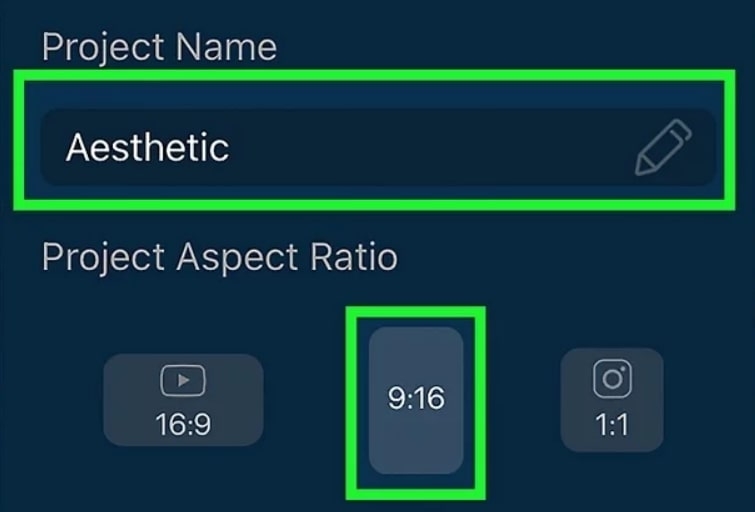
Give the name of the project and select the aspect ratio.
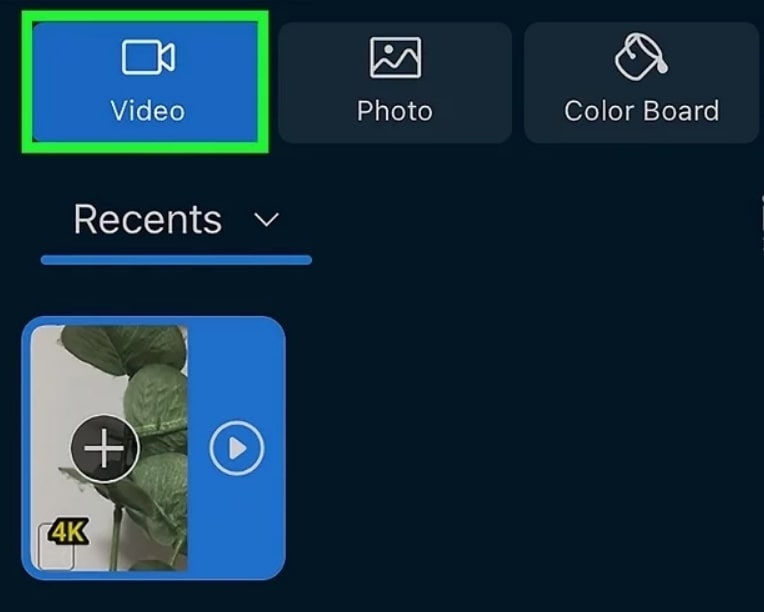
Now, turn the phone to see the list of options (PowerDirector uses a widescreen format). Click on the ‘Video’ option.
Select the Instagram reel or video that you have downloaded by tapping on the + icon.
Now, tap on the video to select it. In case you want to reverse only audio, drag the video to the icon that displays like a music note. This will convert the entire video into an audio format.
Now, scroll through the list of options present at the bottom of the screen. Tap on the ‘reverse’ option and then click ‘OK’ to confirm.
Once the audio is reversed, you can tap on the save icon present in the top-right corner of the screen.
Conclusion
You can either use the reverse filter provided by default on Instagram or use any of the alternative apps mentioned above to reverse the audio on Instagram. Please let us know in the comments section if there are any better ways to do so. Thank you for Reading!
How to Get Disney Pixar Filter on Instagram?Why Can’t I Post Multiple Photos On Instagram?Instagram has Fixed the Bug that Plays Stories Sound by Default
