So, to tackle the situation, most of us look for a better Photoshop alternative. But which one should you settle for, with plenty of options present in the market? GIMP and Krita are two of the leading Adobe Photoshop alternatives that feature the best graphics-oriented tools, digital arts, retouching, illustrations, and much more. Above all, both these applications are free-to-use and can be used on Linux, Mac, as well as Windows. So, here’s a detailed comparison of GIMP vs. Krita that will help you decide to choose the next photo editing tool.
GIMP vs. Krita: The User Interface
One of the main reasons why GIMP and Krita are considered the best Photoshop alternatives is their intuitive and easy-to-use interface. This makes it easy for beginners to get used to the concepts and tools that come along with these applications.
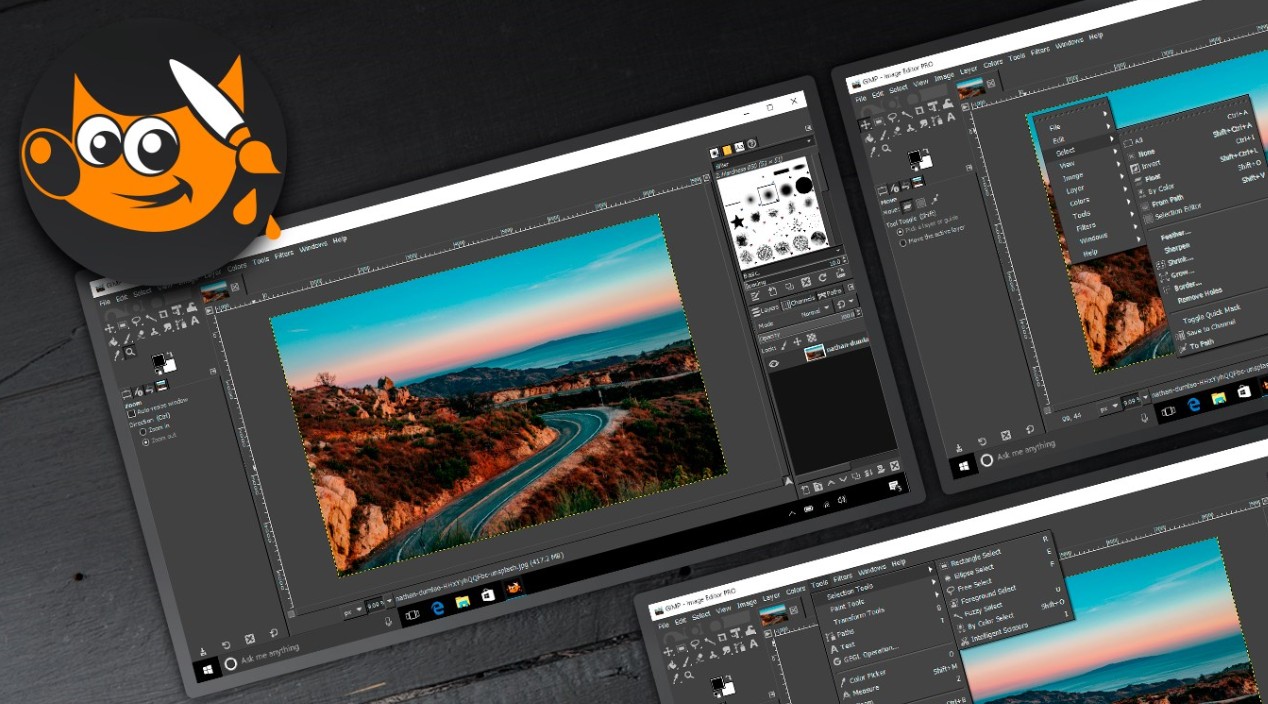
According to many professional users, the interface of GIMP is very similar to that of Adobe Photoshop. It also features a plethora of tools that are located on the left sidebar. Furthermore, the dockers and panels can be moved and float around the screen, which is again a similar feature to Adobe Photoshop.
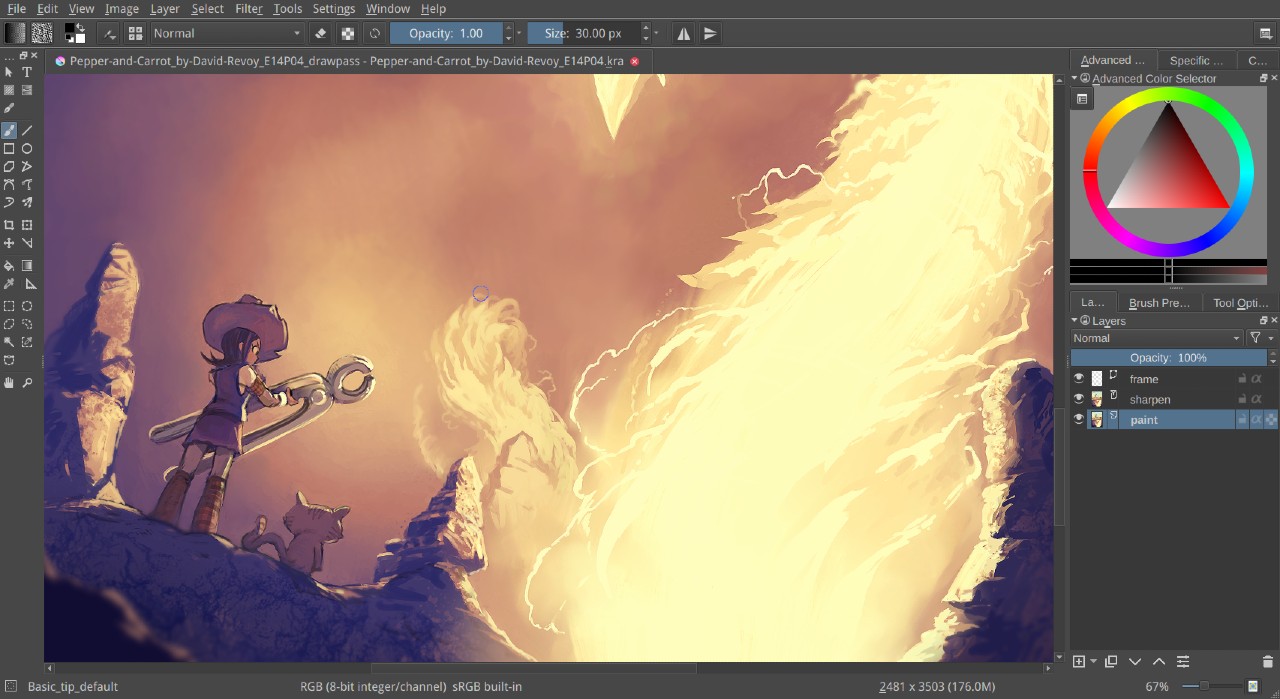
On the other hand, Krita has a very minimalistic and fluid interface, as the developers’ main intention was to avoid any kind of unnecessary tool that could act as a distraction. Krita only displays the most used and important tools in the workspace. However, as per your desire and need, you can add more to the menu structure.
GIMP vs. Krita: Learning Curve
One of the most important aspects of any application is its learning curve. The smaller the learning curve, the easier it will be for users to get used to the application. Flexibility, time, and effort are some of the most important areas that decide whether an application will be easy to use, or whether it will be hard for users to get used to. Despite the availability of a plethora of graphics-oriented tools, both GIMP and Krita are very easy for beginners to get used to. In fact, they are recommended as the go-to platform for anyone who is just getting into the train of the creative world. Both Krita and GIMP come with the option of customizing tools as per your learning pace. Most importantly, you will find plenty of videos online to help you out with any kind of difficulty. Furthermore, both applications are open-source, which means they are supported by a community of helpful and knowledgeable individuals who are available to assist you in any situation.
GIMP vs. Krita: Features
As mentioned, both these Adobe Photoshop alternatives boast a use collection of features to fulfill all your creative digital works. So, let’s take a look at all of them one by one.
Animations
Krita boasts frame-by-frame, raster animation. In fact, here, you get a dedicated animation section to make all the animation tasks a cakewalk. The timeline view feature lets you preview all the animations that you have done on your creation. Further, the exclusive onion skill tool lets you preview all the animations implemented in the previous frames. GIMP gives neck-to-neck competition to Krita when it comes to the ability of animation features. It is the go-to platform for fulfilling all your simple GIF animations needs. You can playback all the animations, and even watch them from start to the end to get a better idea of what’s going on with your creation. Overall, Krita has a comparatively better workspace for animation.
Color Modes and Layers
When it comes to color modes, Krita has an upper hand over GIMP. To be precise, in Krita you get the option of using both RBG and CMYK color modes. In comparison to GIMP, which only has RGB color mode. The unavailability of CMYK can be a major deal if you are more into print work. Layer-wise, both these Adobe Photoshop alternatives make use of layers. If you are more into non-destructive editing, you will get features like group layers, setting blending modes, opacity, and much more to help you out in your creativity.
Selection Tools
The list is very long when it comes to the ability of selection tools on both GIMP and Krita. From free selection, freehand selection, to shape selection, you get a whole lot of selection tools in Krita. In shape selection, you can go with an oval or rectangle. The fuzzy select lets you select a similar region. And the select by color tool helps in selecting everything that has been colored the same color. GIMP has several selection tools as well. In shape selection, you can choose between rectangle, ellipse, polygon, and contiguous. It also has plenty of colors, bezier, and magnetic selection tools. The contiguous tool help in selecting all the contiguous colors in a particular region. Whereas, the similar color tool helps in picking up all the images that have the same color tone. And lastly, the shape tool helps in selecting a particular selected shape.
Photo-editing
It’s very hard to find competition for Krita and GIMP when it comes to retouching and editing images. On both, you get access to a plethora of tools to adjust and refine your creativity. There are plenty of options for adjusting layers as well. You can tweak contrast, level, saturation, and do many more things with your image. Both Krita and GIMP let you fine-adjust images, preview any filter before permanent implementation, and the artistic layers help in improving the overall look of the image. However, on both, you can’t process RAW images directly. In fact, you will have to convert the raw image externally using any third-party application, and later insert it using either of these applications. Krita features the Smart Patch tool. Using this tool, you can easily remove certain parts of an image, and the intelligence will automatically smart fill the removed area. Whereas on GIMP, you have the Cloud tool. Using it, you can copy a certain part of the image and paste it into an undesirable area. Furthermore, both these editing applications feature the liquify tool. Using this feature, you can tweak the pixels of the images as desired. Overall, it’s almost impossible to choose a winner between GIMP and Krita when it comes to the availability of powerful photo editing tools.
Digital Illustration
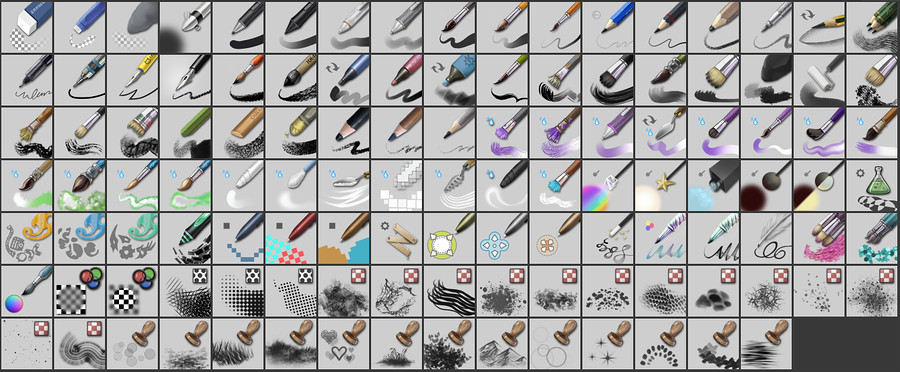
Digital Illustration is another aspect in which it’s almost possible to choose a clear-cut winner between Krita and GIMP. On GIMP, you get access to a plethora of digital illustration tools including brushes, gradient tools, burn tools, and bucket fill. You can use the brush tool to adjust the size, opacity, hardness, spacing, and flow of your drawing brush. The bucket fill tool helps paint a particular region with a solid color. According to many experts, Krita has an upper hand over GIP when it comes to digital illustrations. The program lets you choose any color from your ongoing drawing. And similar to GIMP, Krita also lets you customize the brushes. Furthermore, you can even download custom brush packs for the store to increase your collection. Both applications are compatible with Photoshop brushes, and they can be downloaded from their respective stores. Overall, if you are more into tablet drawing, then Krita can be an ideal option for you, in terms of digital illustrations.
GIMP vs. Krita: Compatibility
None of the above-mentioned features will make sense if the application is not compatible with your system. So let’s check out the compatibility of Krita and GIMP. If you are a text user, then there’s good news for you, as both GIMP and Krita are compatible with Windows, macOS, and Linux. However, when it comes to availability on small screen devices, both applications have certain loopholes. Krita is currently not available for iOS devices. And its Android version is still in early access. On the other hand, GIMP does have a dedicated app for both Android and iOS devices. But considering the reviews, GIMP will have to cover a long road to becoming an ideal image editing application for smartphones. Both the applications are compatible with PSD files. Therefore, you can easily transfer your incomplete Adobe Photoshop projects to either of these applications to finish the work.
Pricing
Let’s conclude our comparison by looking at the pricing of GIMP and Krita. Both these Adobe Photoshop alternatives are open-source and free-to-use. However, if you are downloading Krita from the Microsoft Store or Steam, you will have to pay a subscription fee. But downloading the application from its official website is completely free. In laymen’s terms, neither of these applications will ask you to spend a certain amount of money from your pocket to continue using their services.
GIMP vs Krita: Which Should Be Your Next Photo Editing Tool?
The competition is very tight, as both GIMP and Krita tick all the boxes of an ideal Photoshop alternative. And most importantly, both are free and open-source applications. Therefore, you won’t have any complaints in terms of features, compatibility, and support. To make your decision easy, we will suggest, if you are looking for a tool just for editing images and painting beautiful drawings, GIMP can be an ideal choice for you. On the other hand, if you are more into digital art, then you won’t find a better choice other than Krita. Its huge brush collection and user-friendly painting model make it an ideal Photoshop alternative for digital art lovers. If you’ve any thoughts on Detailed Guide Comparing GIMP and Krita, then feel free to drop in below comment box. Also, please subscribe to our DigitBin YouTube channel for videos tutorials. Cheers! Comment * Name * Email *


